
Maintaining a sleek and fast MacBook Air is essential for productivity and enjoyment. One crucial step often overlooked is clearing the cache regularly.
Regularly clearing your cache can dramatically improve your MacBook Air’s performance by freeing up valuable storage space and preventing slowdowns.
Many users are unaware of the benefits of clearing the cache or the potential issues that can arise from neglecting it.
A cluttered cache can lead to slow page load times, broken links, or missing images on websites.
By making it a habit to clear your cache, you can avoid these common problems and keep your device running smoothly.
Importance of Regular Cache Clearance
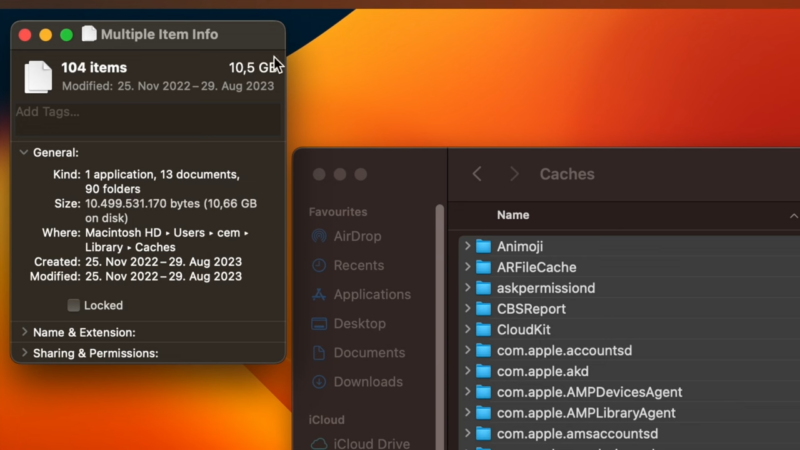
Clearing the cache on my MacBook Air helps maintain its performance. Cached files, while useful, can accumulate over time and consume significant disk space. By routinely clearing them, I ensure my system runs efficiently.
Cached data can sometimes become outdated or corrupted, causing apps to malfunction. By regularly removing these files, I avoid potential glitches. This practice helps keep my apps operating smoothly.
Benefits
- Improved Speed: A clutter-free cache means faster access to frequently used applications and files.
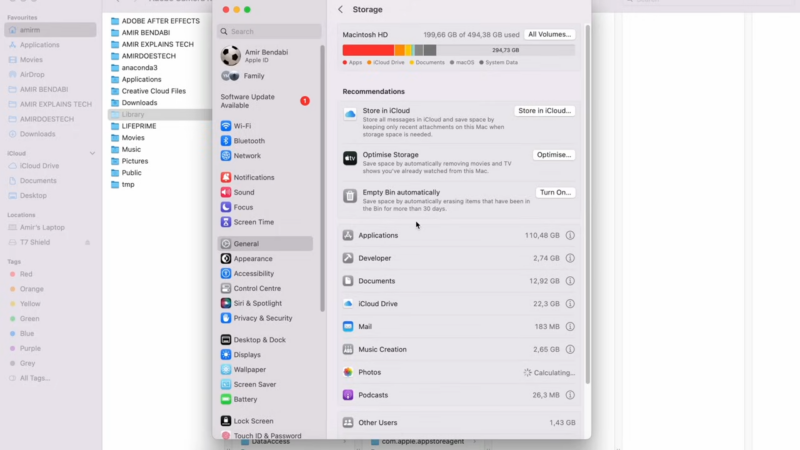
- Space Management: By clearing cache, I free up valuable disk space, which can be used for other important files and applications.
- Enhanced Privacy: Removing cached files helps protect my privacy by eliminating stored data from websites and applications.
For clearing caches, I use tools like MacKeeper or manually delete them through the Finder.
For Safari, I use the “Show Develop menu” option to empty caches.
How To Clear Cache On Macbook Air
Clearing the cache on a MacBook Air can help improve performance and free up storage space.
Here’s how I do it:
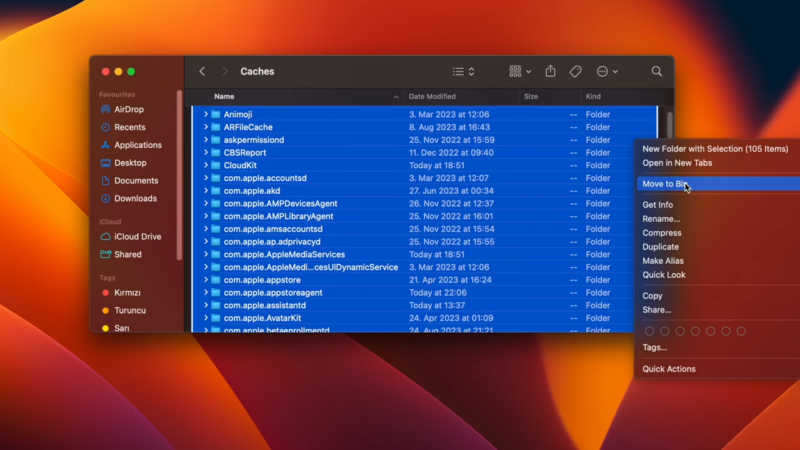
1. Manually Clearing User Cache
- Open Finder and click Go in the toolbar.
- Select Go to Folder from the menu.
- Type
~/Library/Cachesand press Return. - Navigate through the folders and delete the cache files.
2. Clearing Safari Cache
- Open Safari and go to Settings.
- Navigate to the Advanced tab.
- Enable Show Develop menu in menu bar.
- Select Develop from the menu and click Empty Caches.
3. Clearing Chrome Cache
- Open Chrome and click the three dots in the top-right corner.
- Go to More tools and select Clear browsing data.
- Choose Cached images and files, select a time range, and click Clear data.
4. Using Disk Utility
- Open Disk Utility from the Applications folder.
- Select your main hard drive and click First Aid.
- Run the First Aid process to clean up system cache.
By following these steps on how to clear cache on Macbok Air, you should notice an improvement in your MacBook Air’s performance. Whether clearing user caches or browser data, these actions can help maintain a smooth and efficient system.
Benefits of Clearing Your Cache Regularly
- Clearing your cache regularly has multiple benefits that enhance your MacBook Air’s performance and efficiency.
- Web pages load faster because the browser doesn’t have to wade through old cached files.
- By removing unnecessary cached files, you free up valuable storage space, which results in a smoother running system.
- Cached files can sometimes cause web pages to load incorrectly or throw errors. Clearing the cache resolves these issues and ensures web pages display accurately.
- Clearing your cache helps protect your privacy by removing stored data such as login credentials and personal information.
- When experiencing issues with web pages or applications, clearing the cache can often resolve the problem, saving you from potential frustration.
- To clear your cache, you can manually locate cache files through Finder or use shortcuts like [Shift] + [Command] + Delete in your browser.
- Routine cache clearing maintains optimal performance, ensuring that your MacBook Air operates as efficiently as possible.
Common Mistakes to Avoid While Clearing Cache
Clearing cache on a MacBook Air can help improve performance, but there are some common mistakes to avoid that can lead to issues.
- Not Backing Up Data
- Misidentifying Cache Files
- Ignoring Browser Cache
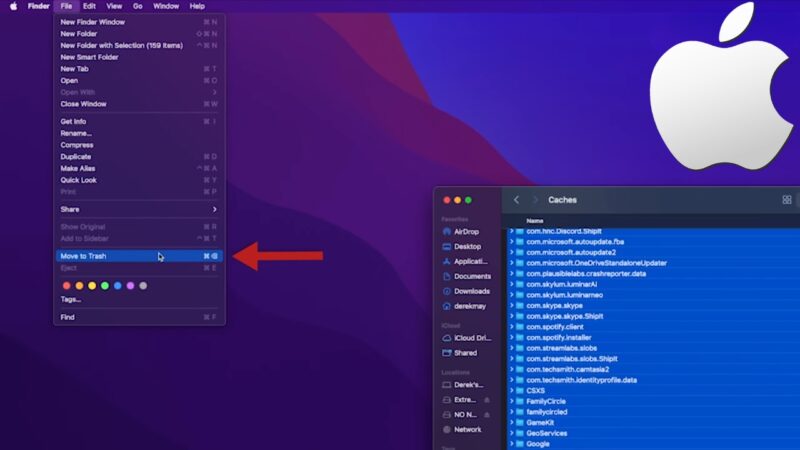
- Not Deleting Cache from the Bin
- Failing to Restart After Clearing
Troubleshooting Post-Cache Clearance Issues
After clearing the cache on my MacBook Air, I occasionally run into some issues.
Here’s how I address them effectively.
When some applications don’t function correctly, I typically start by restarting my MacBook Air. A simple reboot can resolve many minor glitches caused by cache clearance.
If specific apps like Safari or Chrome display unexpected behavior, I check for updates. Updating the software can often iron out any compatibility issues.
For performance-related problems, resetting the System Management Controller (SMC) can be helpful. I shut down the MacBook, press Shift-Control-Option on the left side, and the power button at the same time. I hold them for 10 seconds, then release and restart my MacBook.
In case Finder becomes unresponsive, I try to force quit it. Using Command-Option-Escape, I bring up the Force Quit Applications window, select Finder, and click Relaunch.
To address network-related problems like slow internet, I usually reset the network settings. Going to System Preferences > Network, I click the Advanced button and reset the settings from there.
Sometimes, after clearing browser cache, my saved passwords disappear. To recover, I check my iCloud Keychain settings. In System Preferences, I ensure iCloud Keychain is enabled to restore my passwords.
If the issues persist, I often rely on disk utility tools like MacKeeper or CleanMyMac for deeper analysis and repairs, especially as these can also provide insights into potential hardware issues that may signal my MacBook Air nearing the end of its life. They offer detailed scans to isolate and fix more complex issues that arise post-cache clearance.